7 Rebounder Setup Details That Change the Whole Workout
Quick Answer: Ceiling height, floor type, room temperature, position relative to a wall and mirror, what is under the frame, whether you use the bar, and where the mat sits relative to a light source all measurably change how a rebounder session feels and how hard you work. Most of them are free to fix.
You bought the rebounder, you follow the videos, and it feels slightly different every session for no reason you can identify. It is usually not you and not the trampoline. It is where it is standing.
1. Ceiling height decides how high you can actually bounce
The most fundamental constraint and the one people discover mid-workout.
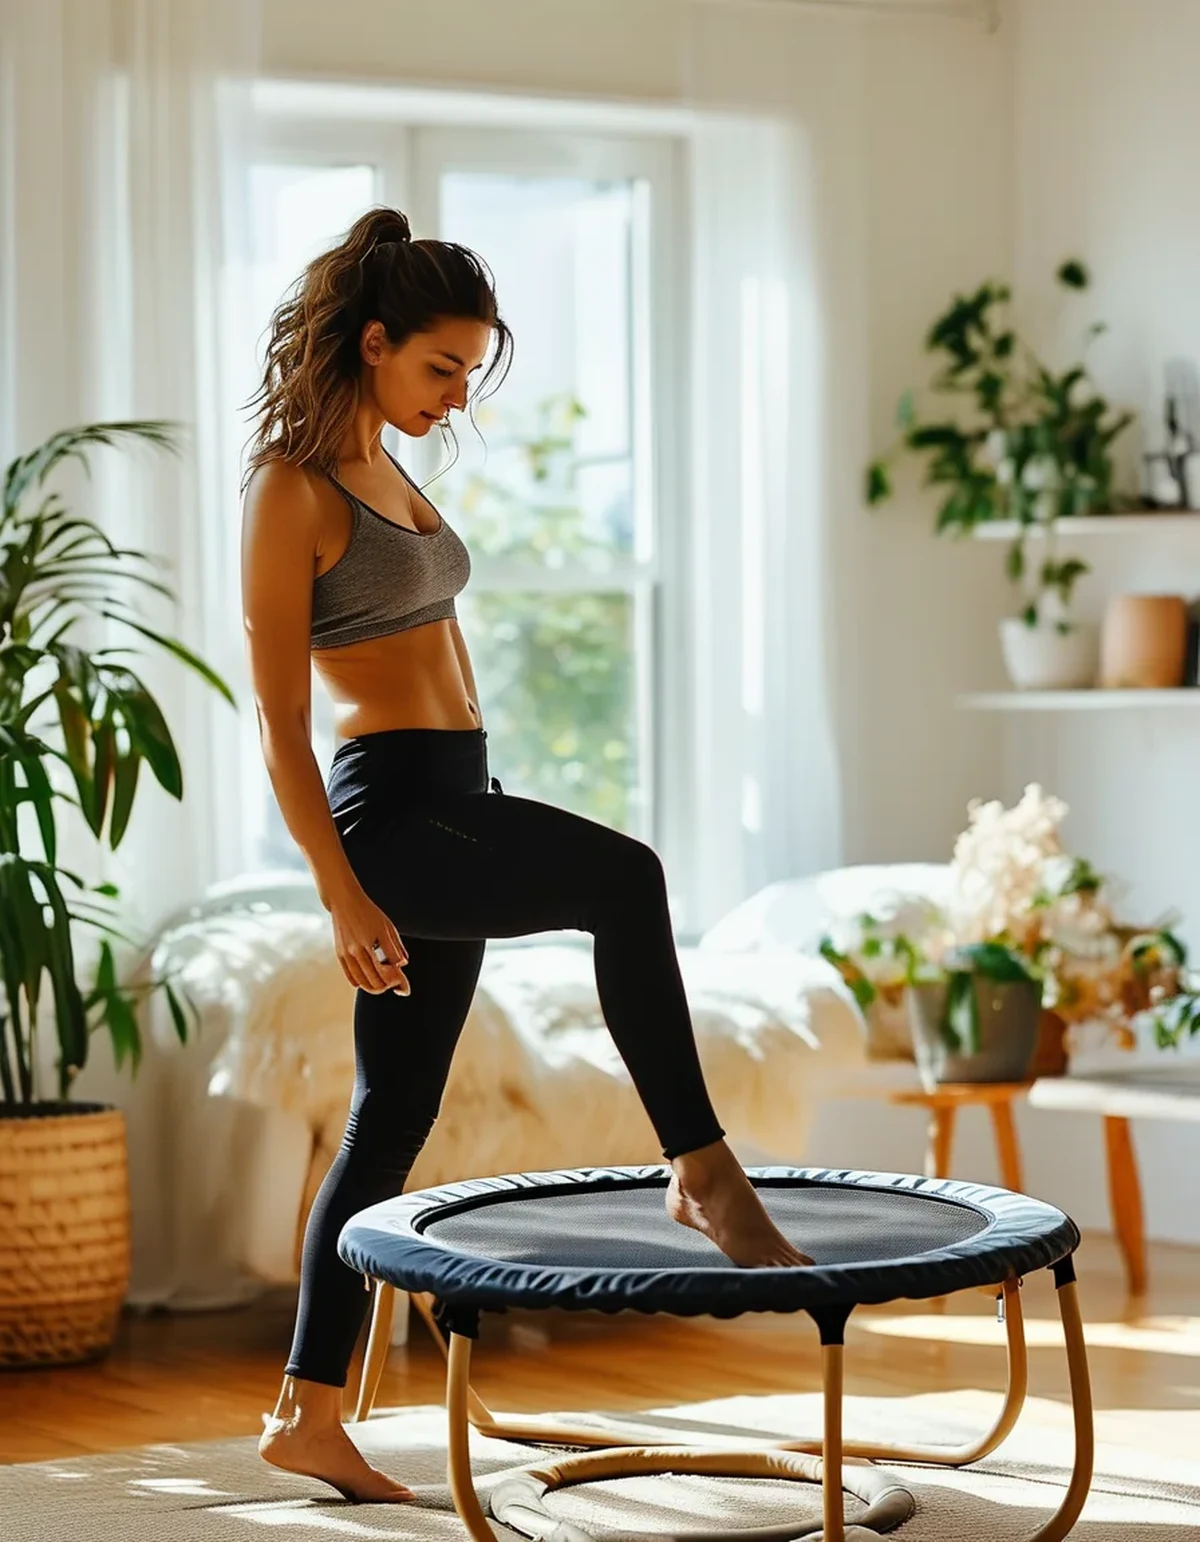
A rebounder mat sits roughly 9 to 14 inches off the floor. Add your height, add a bounce of 6 to 12 inches, and add arms overhead in any of the moves that call for it, and a standard 8-foot ceiling gets close fast.
Measure it once: stand on the mat, reach overhead, and see what you have. If it is under about 8 inches of clearance, you are limited to low-amplitude bouncing and any overhead arm work needs modifying.
This is not a minor limitation — bounce amplitude is one of the main intensity variables available to you. A low-ceiling room turns the rebounder into a low-impact conditioning tool rather than a cardio one, and the workaround is duration and single-leg work rather than height.
2. The floor under it changes both feel and noise
The frame transmits every landing into whatever it is standing on.
- Carpet over a subfloor absorbs some vibration and is the quietest common option, though a thick pile can make the frame slightly unstable
- Hardwood and laminate transmit vibration efficiently and are the loudest, particularly on an upper floor
- Concrete slab is stable and quiet in terms of transmission to others, and the least forgiving underfoot
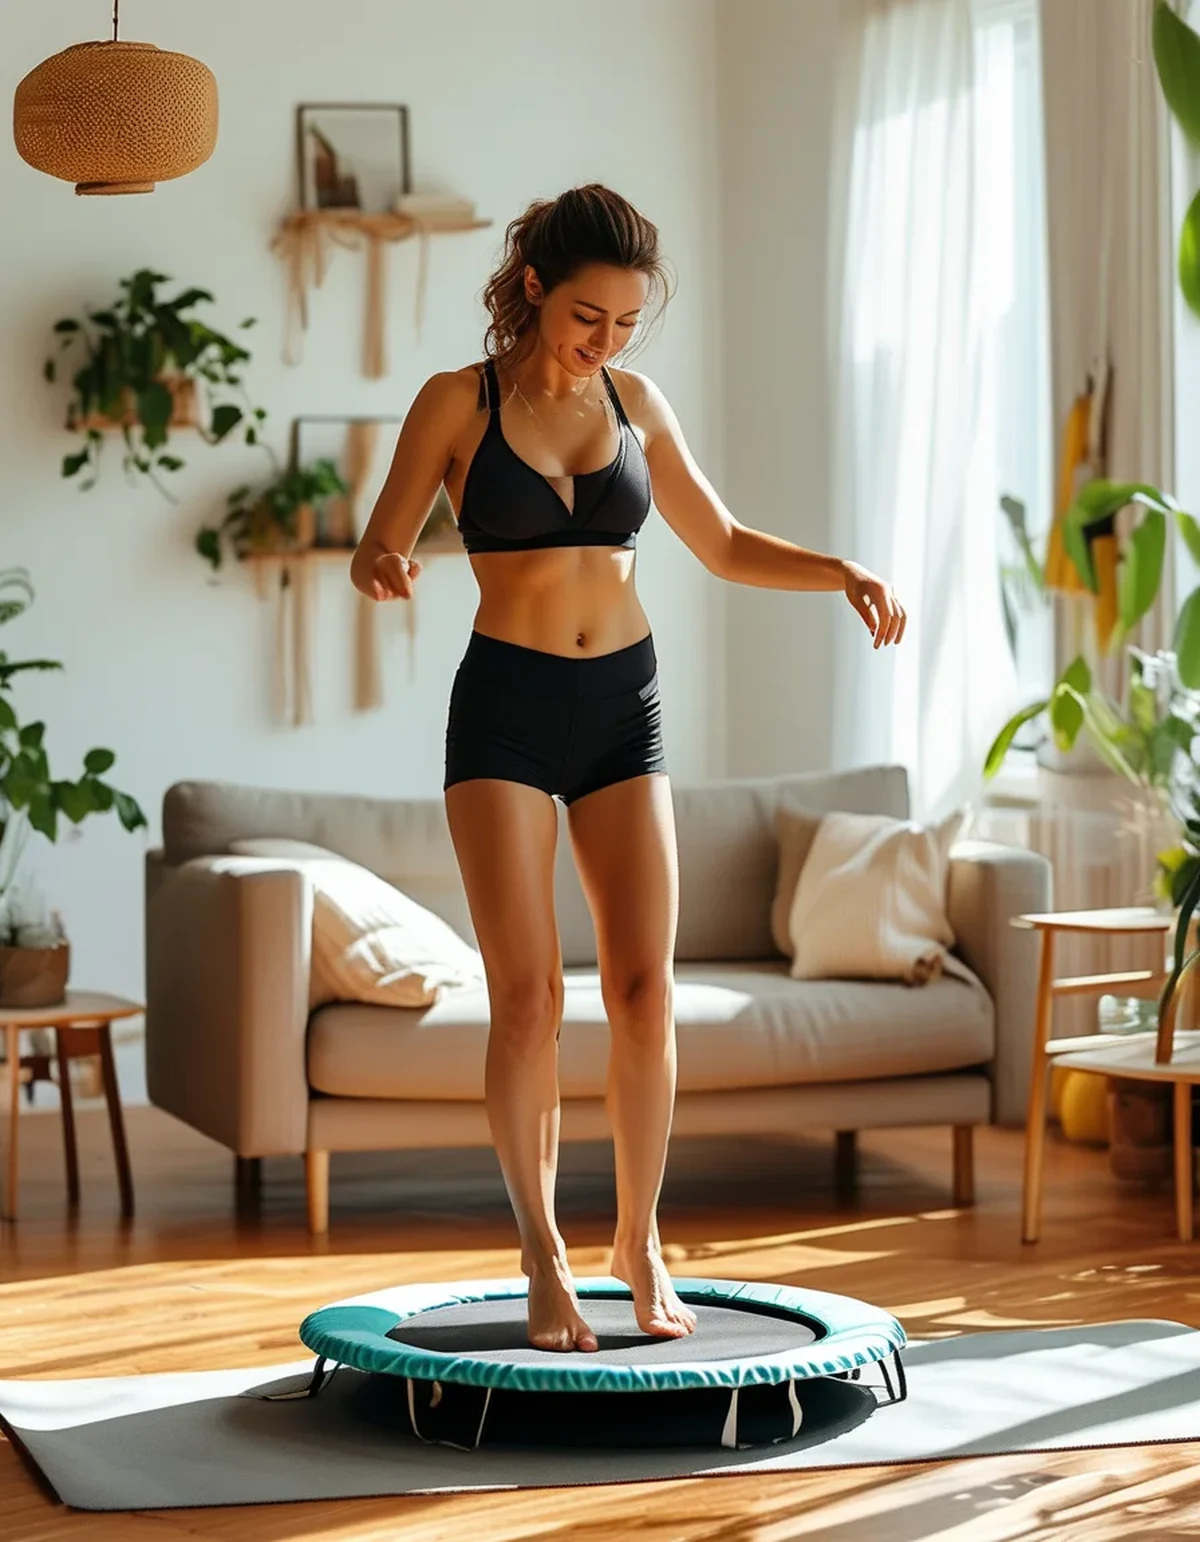
- A rubber mat under the frame is the single most effective fix — it decouples the frame from the floor, reduces transmitted vibration substantially, and stops the feet marking the floor
The feel changes too. A frame on a soft surface has slightly more give, which changes the rebound timing. If your rebounder feels different after you moved it, this is usually why.
3. Room temperature changes the springs
The detail almost nobody accounts for, and it becomes relevant right about now.
Both steel springs and bungee cords change stiffness with temperature. Cold makes bungee cords in particular stiffer and less elastic, so the mat gives less and the bounce feels harder and shallower. Warm makes them more compliant and the bounce deeper.
Which matters for anyone whose rebounder lives in a garage, a basement, or a sunroom. A rebounder that felt perfect in July feels noticeably firmer in a 55-degree garage in October, and people interpret that as the equipment wearing in or their own legs being tired.
The fix is simply to warm up longer in a cold room — two to three minutes of easy health bouncing before anything else, which also warms the cords through use. And if you have tension adjustment, expect to want a slightly different setting in winter than in summer.
4. Distance from a wall determines which moves you can do
Rebounders get placed against a wall for space reasons, and it costs more than people expect.
Any move with lateral travel — jumping jacks, side-to-side, twists, anything with arms out — needs clearance on both sides. A rebounder tucked into a corner limits you to a forward-facing subset of the workout.
A practical minimum is about two feet of clear space on every side, plus enough in front to step on and off safely.
There is a second, better reason for wall proximity though: a wall within arm’s reach is a balance aid. For single-leg work, high-amplitude bouncing, or anyone newer to the surface, being able to touch a wall is genuinely useful. The ideal is a wall on one side and clearance elsewhere, rather than a corner or the middle of a room.
5. Whether you use the bar changes what you are training
The handlebar is treated as a beginner accessory, and it is a training variable.
With the bar: you get stability, which lets you push intensity and amplitude higher without balance being the limiting factor. Useful for genuine cardio work, for anyone with balance concerns, and for high-amplitude intervals.
Without the bar: balance becomes part of the work. The stabilizing demand on your ankles, hips, and core is substantially higher, and there is evidence that unstable-surface work provides real balance benefit, which is one of the better-supported claims about rebounding.
The useful approach is deliberate rather than binary: use the bar for high-intensity intervals where you want cardiovascular load, and drop it for lower-intensity and single-leg work where balance is the point. Alternating within one session gives you both.
6. What is directly under and around the mat matters more than you think
Two safety details and one comfort one.
Under the frame: nothing. No rug edge that can shift, no cable, no pet bed. The frame should be on a flat, stable, uniform surface, and any tilt at all changes your landing mechanics asymmetrically.
Around the frame: clear floor, because the most common rebounder injury is not on the mat. It is stepping off, or catching a foot on the frame edge. A two-foot clear perimeter with nothing to trip on handles nearly all of it.
Footwear and mat surface: most people bounce barefoot or in socks, and socks on a rebounder mat are genuinely slippery. Barefoot or grip socks, not regular socks. Shoes are a preference — they add cushioning you mostly do not need and reduce the foot and ankle work that is part of the benefit.
7. Where the light comes from changes your balance
The strangest item on the list and a real one.
Balance relies heavily on visual input, and on an unstable surface that reliance increases. Facing directly into a bright window means your eyes are working against glare, and your visual reference points wash out — which measurably degrades balance for most people.
Position so the light comes from the side or behind you, not straight into your face. If your only option is facing a window, a sheer curtain solves it.
Related: a visual fixation point helps considerably. A spot on the wall at eye level, or a mirror, gives your balance system something stable to reference. This is why the same workout feels steadier in a studio than in an empty room.
FAQ: Rebounder Setup Questions, Answered
Does it need to be perfectly level? Yes, more than most equipment. A frame with one foot on a rug edge tilts the mat, which loads one leg differently on every single landing. Check it with a level once after any move.
Should I take it down between sessions? Only if you must. A rebounder that has to be assembled gets used considerably less than one standing ready. If space forces it, a folding model that stores upright against a wall is the compromise worth paying for.
How do I know if my springs or cords need replacing? Bounce feel is the best indicator — a noticeably deeper, less responsive bounce, or a mat that sits lower at rest than it used to. Visually check steel springs for stretch or rust and bungee cords for fraying, and replace as a full set rather than individually so tension stays even.
TL;DR:
- Measure ceiling clearance with your arms overhead before designing any workout
- Put a rubber mat under the frame — it fixes noise, vibration, floor marking, and stability at once
- Cold rooms stiffen springs and cords, so warm up longer as the season turns
- Keep two feet clear on every side, with one wall within reach for balance
- Use the bar deliberately for intensity, drop it deliberately for balance work
- Avoid facing into bright light, and give yourself a fixed point to look at
None of this is about the rebounder you bought. It is about the ten square feet around it, and it is the cheapest upgrade available to you.
Keep Reading
This article is for general informational and styling purposes only. Fit, sizing, and product availability may vary.