7 Rebounder Mistakes That Quietly Wreck Your First Month
Quick Answer: The most common rebounder mistakes in the first month aren’t about workout intensity — they’re setup, footwear, and posture habits that cause discomfort or slow injuries before someone even realizes what’s going wrong. Fixing these seven specific things resolves most early rebounder frustration.
A rebounder feels deceptively simple to use, which is exactly why small setup mistakes go unnoticed until knees, ankles, or lower backs start complaining.
What This List Actually Covers
Seven specific, fixable mistakes cover setup, footwear, posture, session length, surface placement, warm-up habits, and progression pacing — the practical, physical side of rebounder use rather than workout programming. Each one is common enough that most new owners make at least two or three of them without realizing it, and each has a fast, low-effort fix below.
Setup Mistakes: Surface and Footwear
1. Placing the rebounder on carpet or an uneven surface
A rebounder needs a firm, level, and ideally hard surface underneath its legs to distribute bounce force evenly; carpet lets the legs sink slightly and unevenly, creating a wobblier bounce that puts uneven stress on ankles and knees over repeated sessions. A hard floor, or a thin rubber mat under the legs on carpet, fixes this in minutes.
2. Bouncing barefoot or in the wrong footwear
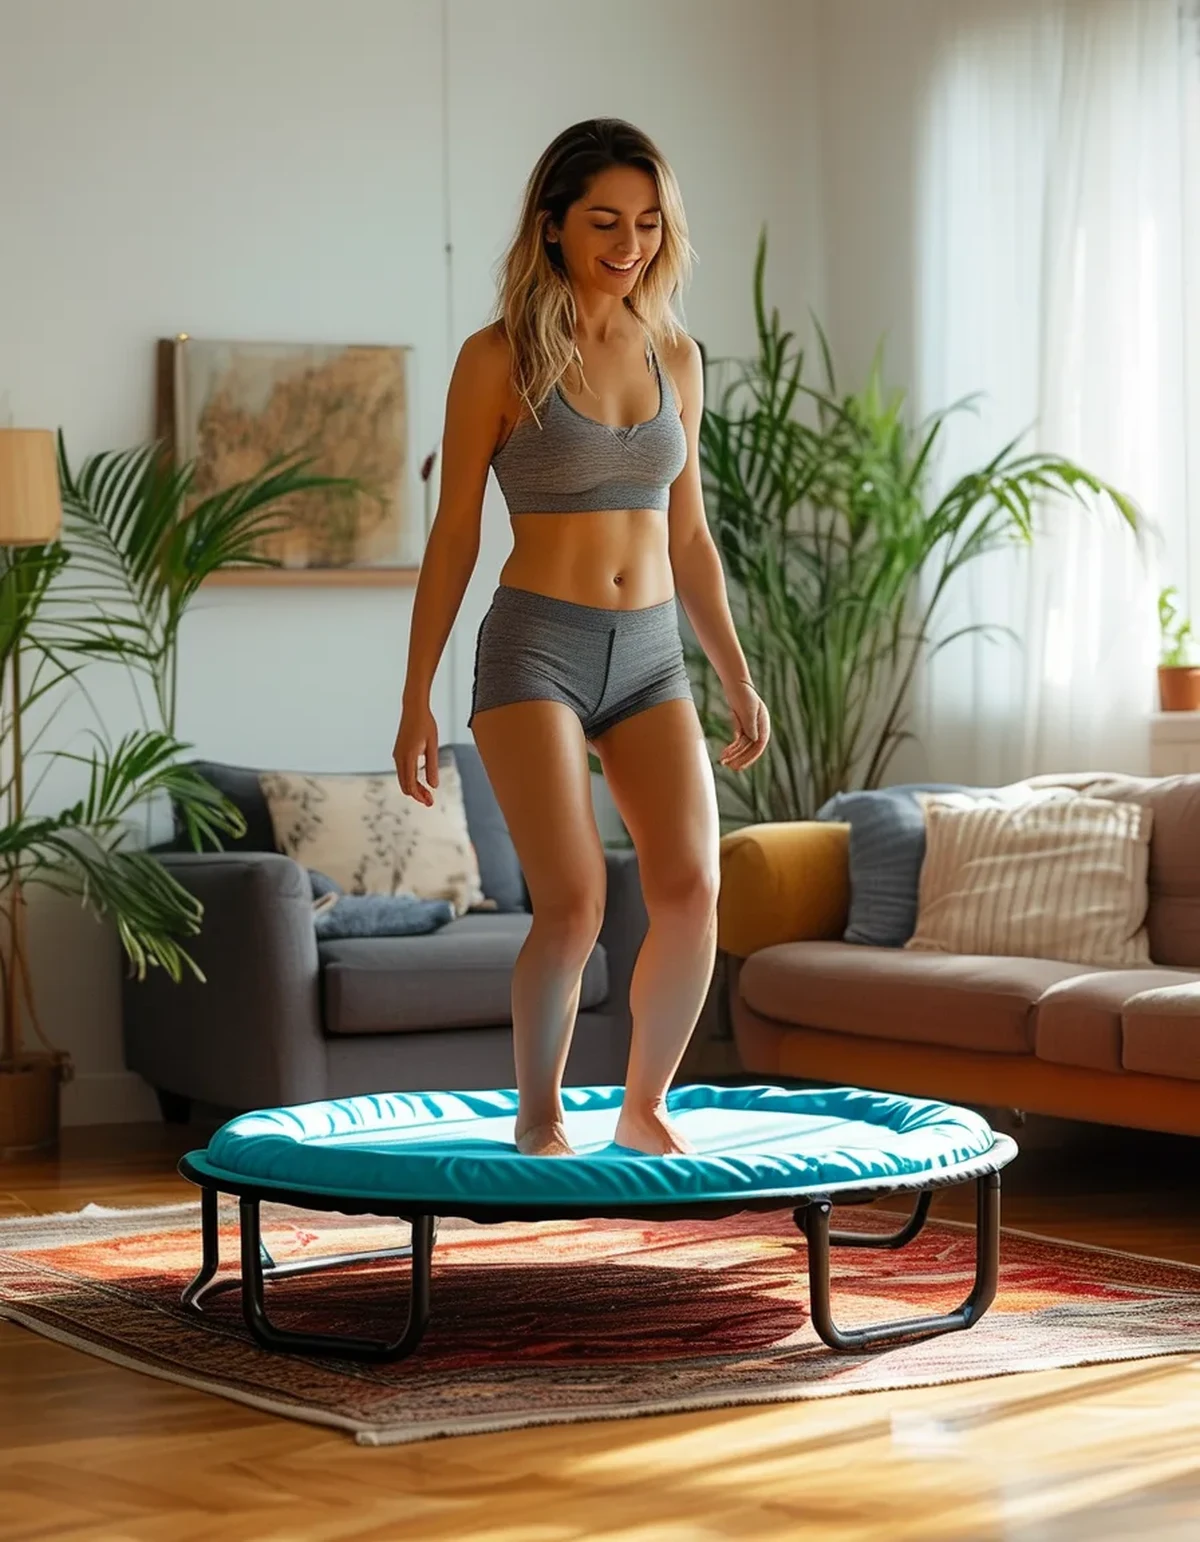
Barefoot bouncing feels natural but skips the light cushioning and lateral support that helps control ankle movement during unpredictable landings, especially in the first few weeks before balance adapts; lightweight cross-training shoes with flat, flexible soles are a better early choice than nothing or heavily cushioned running shoes.
Form Mistakes: Posture and Positioning
3. Slouching forward instead of maintaining upright posture
New users often lean forward from the hips to ‘chase’ the bounce, which shifts load onto the lower back and reduces the rebounder’s natural shock-absorbing benefit; keeping the torso more upright with a slight, natural core engagement lets the legs and rebounder mat handle the impact the way they’re designed to.
4. Bouncing too close to the rebounder’s edge
The mat’s bounce response is strongest and most predictable near the center; bouncing near the edge produces a less even, sometimes tilted rebound that’s harder to control and increases ankle-roll risk, especially before balance on the unstable surface has developed.
Progression Mistakes: Session Length and Warm-Up
5. Starting with full 20-30 minute sessions immediately
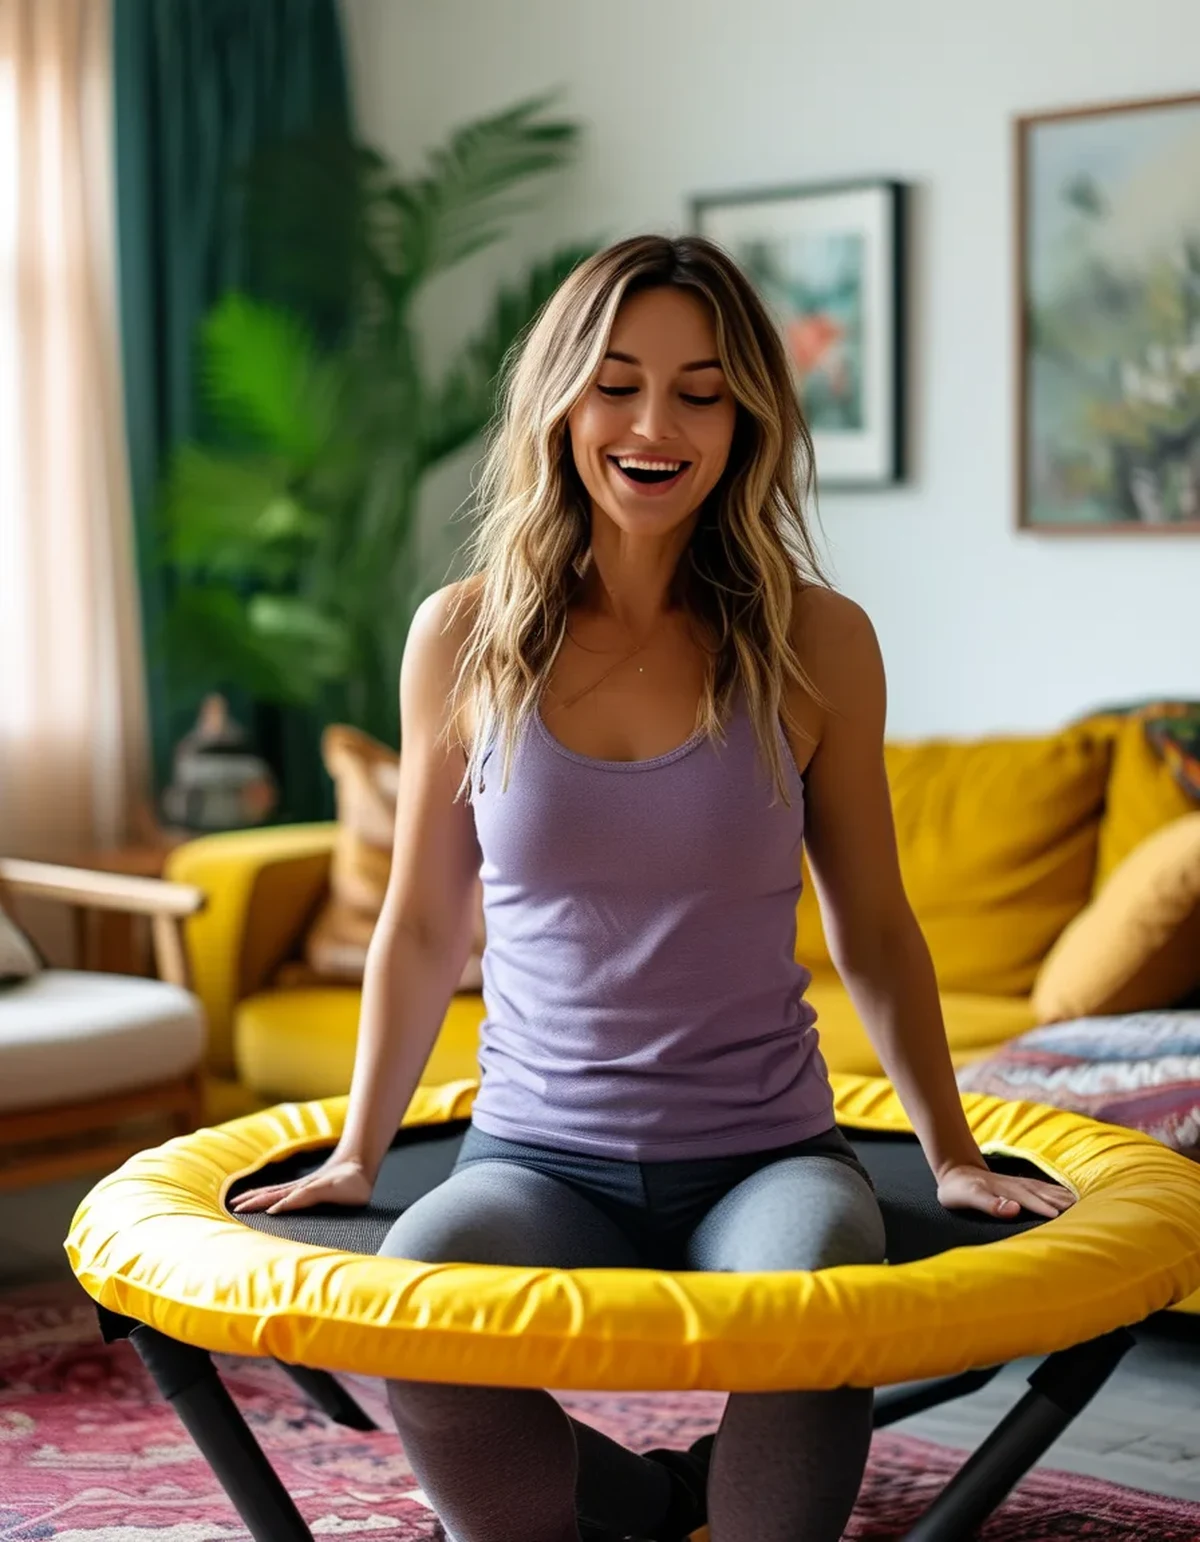
Because a rebounder feels gentle, many beginners jump straight into long sessions, not realizing that the constant small stabilizing demands on ankles and calves are a genuinely new stimulus; 5-10 minute sessions for the first week or two, gradually extended, avoids the overuse soreness that derails a lot of early enthusiasm.
6. Skipping a warm-up because the movement feels low-impact
Rebounding still asks ankles and calves to stabilize through a repetitive bouncing motion, and cold, unwarmed tissue is more prone to minor strain during that repetitive load; even two to three minutes of ankle circles and light marching in place meaningfully reduces this risk.
Maintenance Mistake: Ignoring Equipment Warning Signs
7. Ignoring a squeaky or unstable frame as ‘just how it sounds’
A new squeak or wobble is often an early sign of a loosening bolt or spring hook rather than a permanent feature of the equipment, and continuing to use an increasingly unstable frame raises real fall risk; a quick check and tightening at the first sign of new noise usually resolves it before it becomes a safety issue.
FAQ: Rebounder First-Month Questions, Answered
How long does it typically take to feel stable and coordinated on a rebounder?
Most people notice a real improvement in balance and control within two to three weeks of consistent short sessions, since it’s largely a coordination skill that adapts quickly with regular, moderate exposure.
Is soreness in the calves and ankles normal in the first couple weeks?
Mild soreness is common and expected as stabilizing muscles adapt to a new demand, but sharp or joint-specific pain (rather than general muscle fatigue) is a signal to scale back session length or check form rather than push through.
Does rebounder quality affect how many of these mistakes matter?
Somewhat — a higher-quality frame with better bungee or spring tension provides a more even, predictable bounce that’s more forgiving of minor positioning mistakes, but even quality equipment doesn’t fully offset poor placement or footwear choices.
TL;DR:
- Surface, footwear, and posture mistakes cause more early rebounder discomfort than workout intensity does
- Short sessions in the first two weeks prevent overuse soreness in ankles and calves
- Warming up and bouncing near the mat’s center both meaningfully reduce injury risk
- A new squeak or wobble deserves a quick check, not being ignored
- Most of these mistakes take just a few minutes to fix once identified
A rebounder’s simplicity is what makes these small mistakes easy to miss — and easy to fix once you know to look for them.
Keep Reading
This article is for general informational and styling purposes only. Fit, sizing, and product availability may vary.